How to Build a Wooden Patio Deck

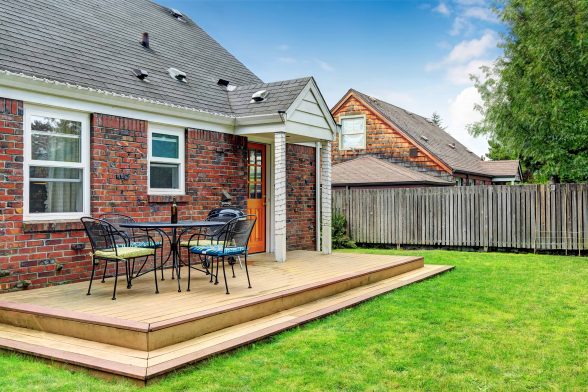
A wooden patio deck can be an attractive yet functional feature in any garden. As well as being attractive it can help compliment any existing garden features and furniture you already may have. They can be built almost anywhere and can, therefore, provide extra space for you to enjoy your outdoor living. There are lots of options available to you, from building them on more than one level to adding a balustrade or a pergola. Some of us may have purchased our homes with a wooden patio deck already installed. However, for most of us, the job would be taken on as an exciting, yet achievable DIY project. So, exactly how do we get started Plan Firstly, determine whether or not you will need planning permission for your new project. This will be unlikely unless you live in or adjacent to a listed building but it is best to exercise caution regardless. You can then plan the dimensions of the patio deck’s floor, levels and features. Prepare the area Ensure the surface is smooth and capable of draining water away from the house. You can then place weed barrier fabric over the ground, using gravel or stones to evenly weigh the sheet down. Next, attach a wall plate to the foundation wall of the home using anchor bolts. This board serves to attach the wood floor to the adjacent house, so bear in mind the shape and sloping of the deck during installation. 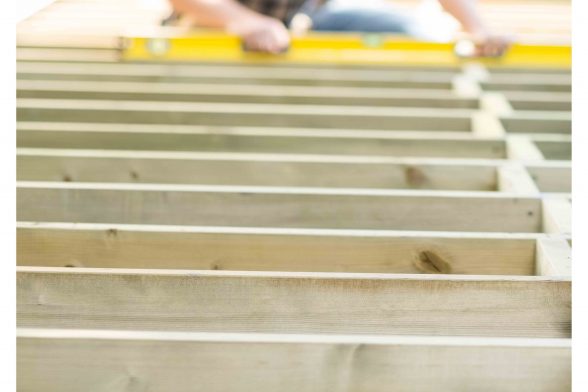 Lay the framework If the ground is firm and level, a basic framework can be laid straight onto it, commonly 50 x 100 treated timber. If it is to be elevated the posts will have to be set first. Dig four footings and use concrete to securely fit your four treated 100 x 100mm wooden posts in place. You can then attach your joists to the outsides of the 100 x 100mm posts, creating the outer perimeter of the patio. You should then install joist hangers at 400mm intervals across these timbers before attaching cross members with galvanised nails and ensuring that they remain flat and parallel to the outside edges. Lay the decking Install your wood decking perpendicular to the supporting joists. Keep in mind that even treated wood will expand in damp conditions, so leave around 3mm space between the boards. A line level can be used to ensure your deck slopes enough to promote good drainage, with 10mm per meter considered as the ideal standard. You can then attach your trim boards around the edge of the decking. Cleanly remove any overhang from the last step and attach your boards to be flush and neat for a finished look. All that’s left is to use your chosen wood stain or varnish, to best protect your new wood patio deck and provide an attractive finish. Have you built your own wood patio deck in the past? If not, why not give the idea some thought? All of the materials required are available from George Hill Timber and Building Supplies and we’d also be happy to share any tips and tricks which we’ve picked up over our decades of experience in the trade.