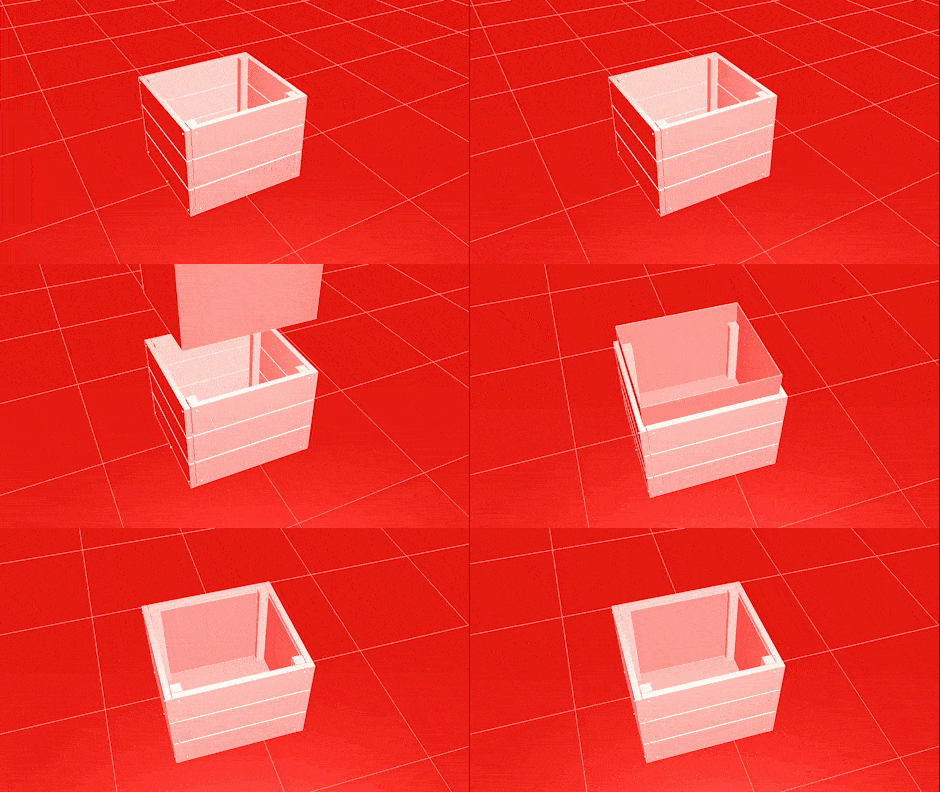
How to make a garden planter box
Using a garden planter or two is an excellent and thrifty way to update your outdoor space. Whether you struggle for space or soil type, these boxes are a neat and decorative alternative to flower beds.

Step 1
Here's what you'll need:
- Treated timber planks 150mm wide cut into 13 lengths of 60cm
- Treated wooden battens 50mm x 50mm cut into 4 lengths of 53cm
- Rapier Universal Woodscrews
- Timber stain or sealant - we recommend Sikkens Cetol Filter 7
- Landscape Fabric
- Screwdriver
- Saw
- Staple gun

Step 2
Once your wood is cut to length, stain it to seal it from water and rot. A simple sealant, varnish or oil will do, however, painted boxes can look very pretty too! If you do decide to paint your planter, make sure you use a product which is suitable for outdoors.

Step 3
Next, assemble the 60cm long boards 3 high to make two planter sides of the same height. Screw the boards to two of the battens leaving 5cm at one end to create feet.

Step 4
Once you have assembled the first two sides, screw the remaining two sides to form a rectangular box. Make sure you create right-angles at each corner.

Step 5
Turn the box up so the batten feet are pointing upwards. Take your remaining length of wood and fit it inside the box frame, screwing it from the outside. This will add rigidity to secure the base whilst leaving space at each side for drainage.

Step 6
Using a staple gun, line the inside of your planter with landscape fabric and with sharp scissors poke some small holes for drainage along each side of the base plank.
All that's left to do is to fill your planter with topsoil and choose a sunny place on your decking to show it off!
