How to create a panelled wall
Traditional yet timeless, a panelled wall is back in fashion. Not only do they look great in any home they are easy to do yourself. To create your own, follow our step-by-step guide below.

Step 1
Make a plan
Decide how you want your panelled wall to look. This should tell you the number of panels you'll need to make it happen.
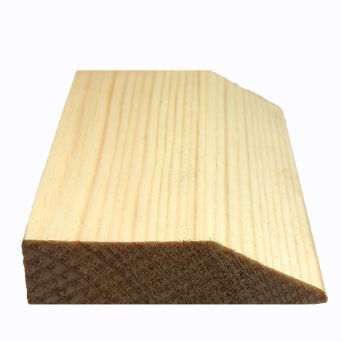
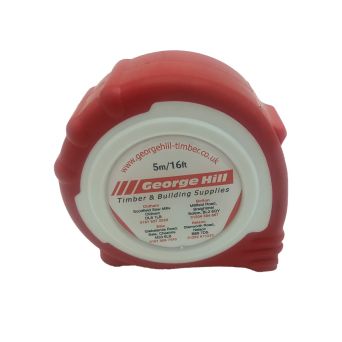
Then, you can choose your timber mouldings and measure up your wall.
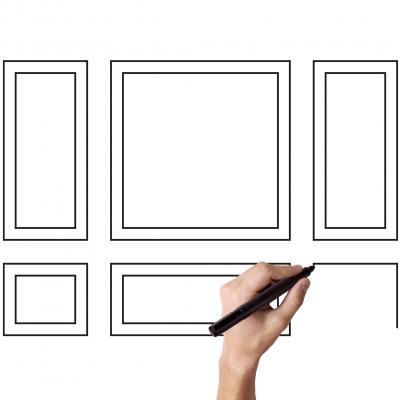
Step 2
Draw a plan or how the panelling will be spaced out on your wall. Using your wall measurements and the width of your mouldings, jot down the lengths needed.
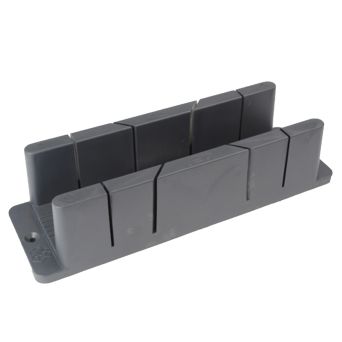
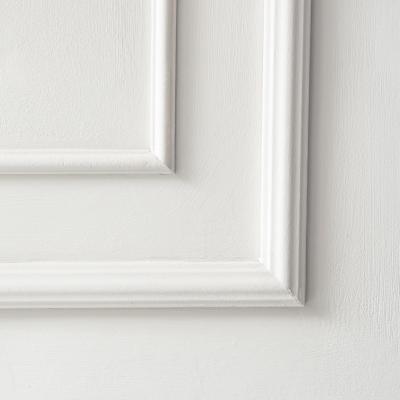
Cut the mouldings to length and mitre them at 45° if needed.
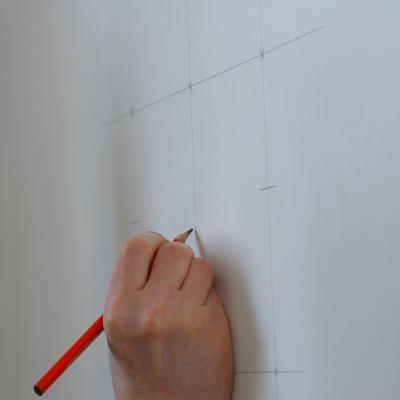
Step 3
Use a pencil to lightly mark where each timber moulding will sit on the wall. Make sure your pencil markings take the width of each panel into account.
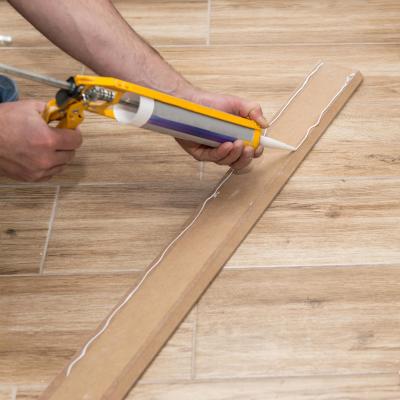
Step 4
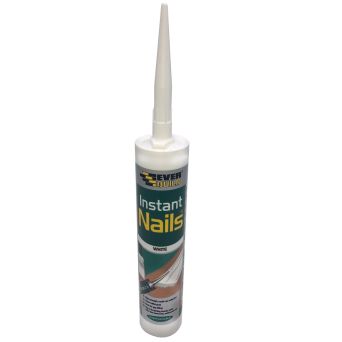
Apply Instant Nails onto your timber mouldings. You can then attach the mouldings to the specified markings on your wall.
If your walls aren't completely flat, the Instant Nails might not be effective. If that's the case, screw the moultings into place with a wall plug.
Step 5
For a smooth and secure finish, work your decorators caulk along every panel edge. If you've screwed the mouldings to the wall, caulk over any holes or marks. Allow it to dry.
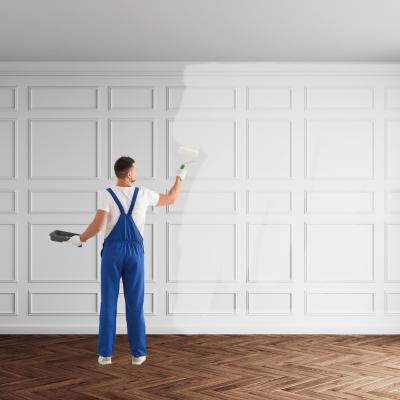
Step 6
Treat the panels with a coat of primer. Once this is dry, you're ready to paint your wall with your chosen colour.