How to Build a Garden Bed
As the perfect place to grow flowers, fruit and herbs, a garden bed adds a nice finishing touch to any garden, whether big or small. What's more, it's relatively easy to build your own garden bed from scratch, it won't cost you the earth, and you don't need to be particularly green-thumbed.
You can find most of the tools and materials you'll need for your project through our website. So grab your gloves and follow our step-by-step DIY guide to get started.

Step 1
Here's what you'll need
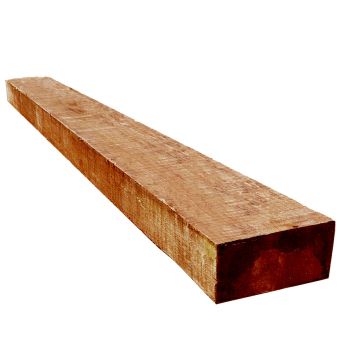
- Wooden sleepers or treated carcassing
- Circular saw
- Cordless drill
- Screws
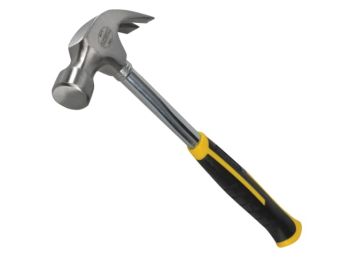
- Hammer
- Spading fork
- Measuring tape
- Roofing square
- Spirit level

Step 2
Map Out Your Garden Bed
Depending on the space in your garden, map out how big you want your garden bed to be. Ensure your wood is treated before you start (including any cut ends), to avoid rot. Cut your longest sleepers to the desired length using a circular saw – or take advantage of George Hill Timber’s free cutting service. You can also use treated carcassing as a thinner alternative to sleepers.
Once you have your two lengths, lay them parallel to one another to outline your garden bed, and measure the distance between the two. This will give you the measurements for your sides. Cut your last sleepers into your two sides.

Step 3
Join the Sleepers Together
Connect the two side sleepers with one of the lengthways sleepers to make a ‘U’ shape. Use your roofing square to double check that the corners are square before using a cordless drill to drill pilot holes at the top and bottom of each end of your lengthways piece. Then join the two sides to each end with outdoor timber screws. Finally, you can attach and drill your other lengthways sleeper in place to create a box shape. If you want a deeper garden bed, repeat the process by adding additional layers of sleepers to the required height, and fasten together.

Step 4
Prepare the Ground
Once your garden bed shape is finalised, place the frame in your chosen position on the ground and outline it with a shovel. Remove the frame from the position so you can dig through the grass where your garden bed will lay, using a spading fork to loosen the soil. If you don’t want a raised garden bed you will need to dig a trench perimeter for your garden bed frame to slot into – just make sure that the bed is straight by using a spirit level.

Step 5
Secure Your Structure with Stakes
Now that you have your garden bed frame, you’ll want to ensure it lasts through the seasons and doesn’t blow away! Cut four stakes a few inches wide and slightly longer than the height of your garden bed – these will act as inner supports and secure your garden bed in the ground. Hammer in a stake to each inner corner of your frame and drill these in place. You can add additional stakes for a sturdier structure.

Step 6
Plant and Grow!
Your new garden bed is in place so now all that’s left is to add the necessary compost and fertiliser to the soil. Then sow the seeds of your choice and wait for your garden bed to come to life.


