How to Build a BBQ Pit for any Garden
We'd love to say that BBQ season is here to stay. But let's face it, the British weather is rather temperamental. Nothing beats the taste of cooked food on an open fire though, and you can be ready at the drop of a hat if the sun sticks around this summer by building your own barbecue pit in your back garden.
Say hello to an endless stream of fire-cooked sausages, burgers, and whatever else takes your fancy! You'll be the centre of attention in your family and a sure winner among friends throughout the summer. Best of all? You can create your own barbecue pit without forking out a fortune.

Step 1
Here's what you'll need:
Barbecue grill set
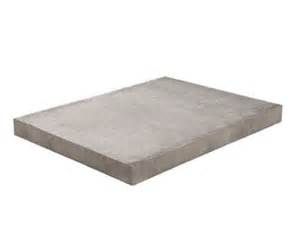
- Paving slab
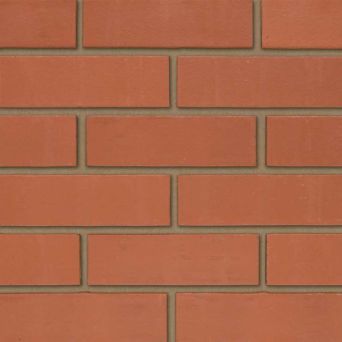
- Bricks
- Coping stones
- Mortar Mix
- Shovel
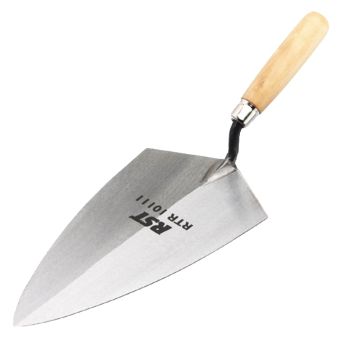
- Trowel
- Spirit level
- Length of hosepipe

Step 2
Outline Your Pit
Once you've decided on the perfect spot for your pit, map out how the barbecue will look by arranging your bricks in an oblong shape around the grill. If you fancy having an additional bench block to lay out your meat treats, map this out with a layer of bricks too.
Make your job easier by choosing a level patch of ground (concrete and paving are the best surfaces) to build on. We'd also recommend picking a place close to your kitchen so you don't have to run back and forth to grab more food and beers.

Step 3
Prepare the Mortar Base
Spread a layer of ready to use mortar mix across your barbecue site to level out the ground and prepare to secure your bricks in place.

Step 4
Lay the Bricks
When laying the bricks on the mortar, use a spirit level to check that each layer of the wall is straight. You'll also want to ensure that the wall turns on right angles at each edge. When building up the wall, stagger the bricks so that the brick ends are not aligned, which will give added strength.

Step 5
Level the Bricks
After five or so courses of bricks, lay a long plank of wood across the two sides to check that they are level. Continue to build your wall, adding a flush edge to hold your charcoal tray at the desired height, and another flush edge a few layers higher up for the grill tray. This will ensure your barbecue is safe and, most importantly, that none of your delicious food drops out of the grill tray.

Step 6
Tidy Things Up and Add Finishing Touches
It's understandable to take pride in your hard day's work, so don't forget about tidying up the edges. You can get a professional finish by using a length of hosepipe to scrape along the edges of each of the brick joints, removing any excess mortar. Then finish the top of your barbecue pit with a layer of coping stones.
If you've created your barbecue pit with space for a side work surface, secure a large paving slab on top of the walls. You'll just want to make sure that all the food isn't pinched from here before you get a plateful yourself.
Worried about the British weather raining on your parade? Secure a metal grip to one side of your wall to act as an umbrella holder (very handy for last minute storms!).