How to Create Floating Shelves for Your Alcoves

Adding floating shelves to your alcoves is a stylish way to create a focal point in your room, display your favourite home accessories or make a little extra storage space.
Floating shelves are a popular interior design choice because they are both on-trend, and appear to be suspended in mid-air without taking up any extra floor space. Space saving designs and storage is particularly ideal if you have smaller rooms in your home or you like to make the most out of every nook and cranny you have.
Creating the stunning illusion of floating shelves for your alcoves couldn't be simpler. Firstly, it's vital to prepare and ensure you have the right tools and materials. Make sure you have any MDF or wood cut to the desired thickness and lengths for your project.
It's also wise to check the wall condition you have chosen to mount your shelves to. Is it a hollow, fake wall? In this case, the sensible choice would be to install lighter MDF floating alcove shelves. If you wanted to erect heavier shelves such as oak, you would need a much stronger brick wall to accommodate the extra weight. I
It’s equally crucial to ensure you have the proper fixings to make sure that the shelves are mounted to the wall safely and correctly.
Let’s discover how to DIY build floating shelves in alcoves
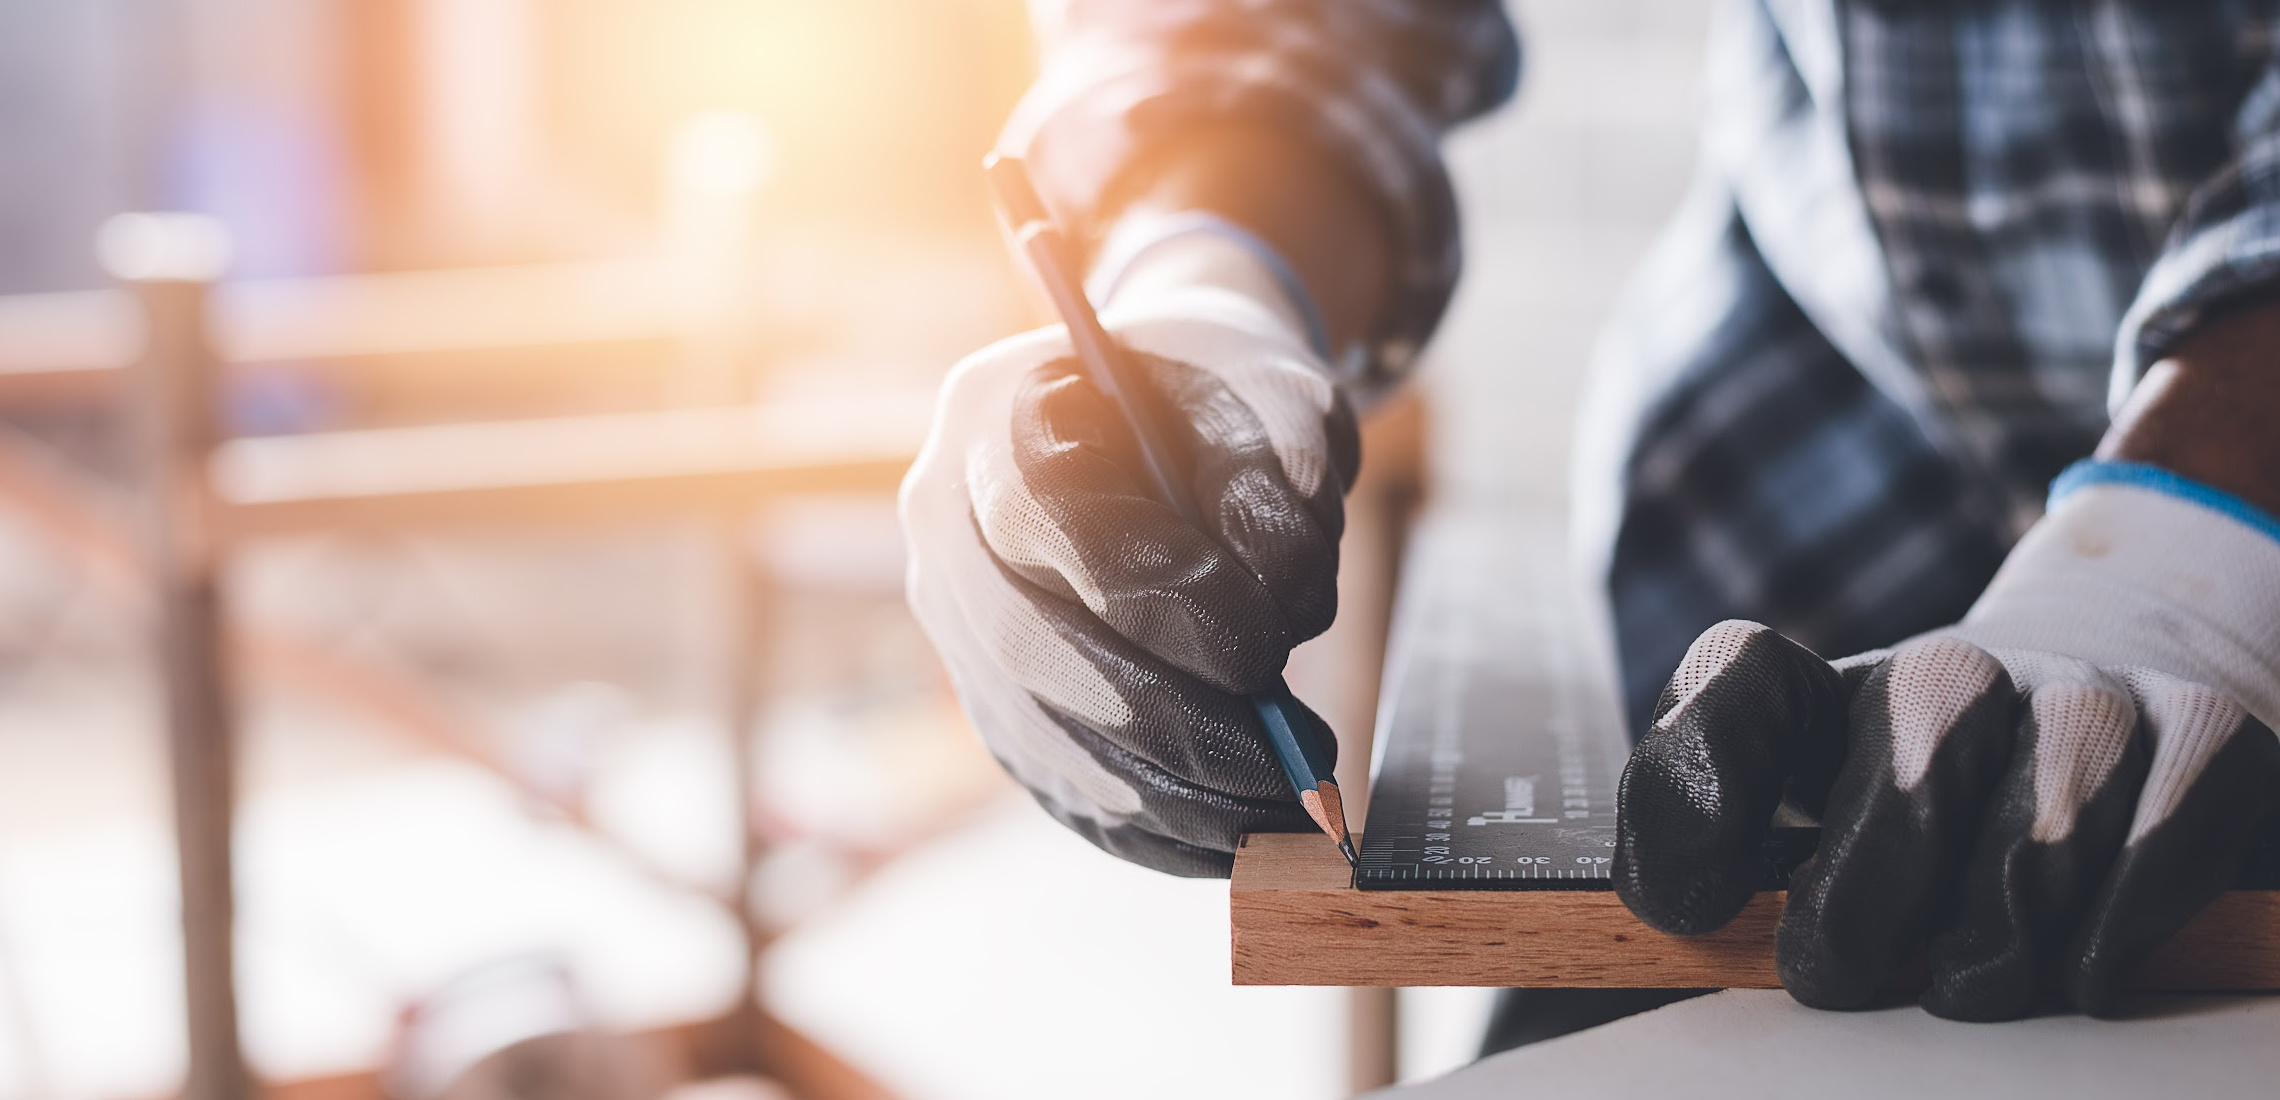
Assuming you want to build some floating shelves out of MDF; the process is fairly straightforward. Create a clear space and begin by measuring both the width and height of your alcoves. Once you have the measurements, double-check that they are accurate and once you're happy, cut two pieces of MDF to the desired size with a saw.
If you would like your shelves to be the same on all sides, cut the required amount of pieces of veneered MDF according to the exact measurements.
If you want to create staggered floating shelves in your alcove, you would need to cut different sizes, simply measure and cut the varying lengths accordingly to create the desired effect.
Measure twice, cut once
It's now time to cut the shelves to the desired length and width, once the shelves have been cut, use a hot glue gun to attach the veneered MDF to the back of the MDF panels.
![]()
It is absolutely crucial to give the shelves ample time to dry; this makes sure the shelves stay affixed and that no wallpaper or paint is ruined by hot, sticky glue.
It's time to put up your new shelves
Place the shelves in the alcove. If the space has been measured correctly, the shelves should sit perfectly within the space. Secure each shelf to the wall using the proper screws, making sure that whatever fixing you use can securely handle the weight of the floating alcove shelves.
Add decorations and accessories to liven up your space
Styling your alcove shelves is one of the most satisfying parts of the project and a great way to let your creative juices flow. Add a string of fairy lights to create a cosy and ambient glow. Consider placing other popular items, including books, small plants, trinkets or vases; just make sure that the shelves can support the weight of the things you choose to decorate the alcove shelves.
For more helpful advice on creating stylish floating alcove shelves, feel free to contact us to get advice and the right timber supplies and materials for the job. Alternatively, visit one of our building merchants in Bolton, Oldham, Sale or Nelson to sample our extensive product range in person.