How to fit wall panels

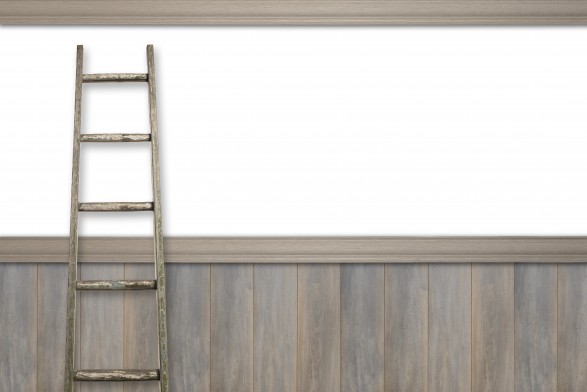
Tongue and groove wall panelling is hard-wearing and attractive, whether you paint it, stain it, or leave it with a natural wood finish. Panelling can cover as much of the wall as you like, although up to dado-rail level is most common, with moulding at each edge to finish it properly.
Panelling needs to be fixed to horizontal battens which should be fitted in place first. To panel up to dado-rail height, you’ll need to fit three battens; one at floor level, one level with the top of the panelling and one half-way in between.
First, cut your battens to fit the length of the wall you’d like to panel then cut your tongue and groove planks to length. Using one of your cut planks, mark its height on the wall with a pencil. Fix the top batten at this height, then your lowest batten just above your skirting it you have it. If not, mark the lower batten position about 50mm from the floor. Your middle batten should be marked around 400-500mm from the top and bottom ones.
Next, using a spirit level, draw horizontal lines across the wall to guide you in fitting your remaining battens. The highest edge of your top batten should be exactly the same height as the top of the cut plank.
Drill the battens 50mm from each end and at about 400mm intervals then hold them in place and mark the drill points on the wall. After double-checking that there aren’t any pipes or wires behind the fixing positions, drill holes into the wall, plug the holes and screw the battens into place. If your wall is uneven, use some cardboard or wood off-cuts to pack the gaps behind the battens.
Next, secure the panelling to the battens using panel pins. The design of tongue and groove panels allows for ‘secret-nailing’; nailing the pins through the tongue of each plank before covering it with the groove of the next plank. To do this, sand any rough edges then, working from the left, hold the first plank in place (tongue-side on the right), level with the top batten. Nail a panel pin through the top left-hand side of the plank into the batten. Check the plank is vertical using a spirit level before fixing it to the remaining battens.
To secure the remaining planks, hold a pin with long-nose pliers and hammer it at an angle through the corner of the tongue into the batten behind it. Repeat this for each batten. Sink the pin heads below the surface of the plank and then slot the next plank into place.
Once you reach the end of the wall, cut the last plank to fit, and nail through the face into the battens. If you're panelling the next wall too, leave a 3mm gap between the last plank and the wall at the corner. Butt the grooved edge of the first plank on the adjoining wall against this last plank, and nail it though the face into the battens.
Finally, cut capping or moulding to fit the top edge of the panelling then, using adhesive, secure it to the panelling and leave it to dry. Complete your project using skirting, nailing it to the bottom of the panelling using panel pins.

