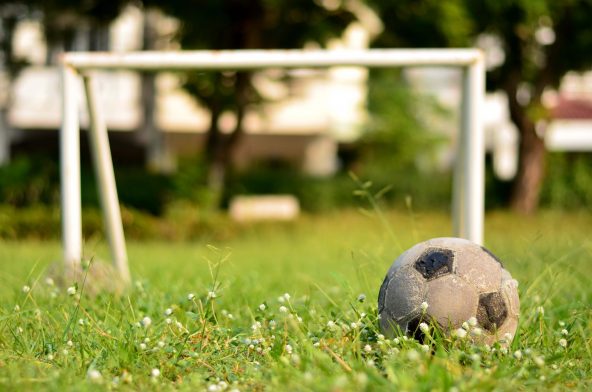
How to build a set of goal posts

Germany is out, England is through, this year’s world cup champions crown could be anyone’s. Regardless of how the Three Lions perform for the rest of the tournament, having a kick around in your back garden is a great way to enjoy the beautiful game in the English summer sun. We bet you’re on the edge of your seats after that unpredictable first round and are no doubt picking apart the world’s top players. I mean, even your kids could have put away that Messi penalty, right? Well, here’s your chance to prove it… Building a set of goal posts for your garden is a relatively easy DIY project and provides the perfect opportunity to entertain the kids. Or heck, you could even challenge your grown-up mates to a (healthy) backyard cup competition. Just remember not to invite your Scottish pal from work – he’ll have to wait at least another four years. So, let’s get started! you’ll need the following tools and materials:
- 8 x pieces of wood cut to your preferred
- Hammer
- Long nails
- Horseshoe nails
- White paint (optional)
- Net
- Measuring tape
- Ladder (optional)
Step 1: Measure Your Goal Posts Depending on the garden space you have to play with (pun not intended), your goalposts may vary in size. A regulation football goal is a whopping 24-foot (7.3 metres) in width and 8-foot (2.4 metres) tall, so unless you have a Wembley-sized garden, we’d recommend creating a smaller goal post. The measurements we’re going to work with are a 6 foot (1.8 metres) by 4 foot (1.2 metres) goal post. Measure and cut two 6-foot planks of wood for the width of your goal post, two 4-foot planks for the height, two 2-foot planks for the bottom left and right side, and two 4.5-foot planks to secure diagonally the top edges with the bottom back edges for the goal. Step 2: Secure the Frame Once you have your eight planks of wood cut to size, you’ll need to secure the frame in place. Using your long nails, hammer into place the left and right side of the goal posts to the top corners of one of the width planks of the goal, creating a rectangular shape with an open bottom. Then, at the bottom corners of the goal post, hammer the two 2-foot planks of wood, to create the backing that keeps your goal upright and acts as the depth of the goal net. Add strength and stability to the goal post by securing the two 4.5-foot planks diagonally, creating a perpendicular triangle. Finalise the goal by using the final 6-foot width plank of wood as the back base, securing this at the bottom corners of the diagonal sides. Step 3: Paint the Goal If you want to make your goal posts stand out within your garden, give the wood a lick of white paint before you move onto the next step. After all, you don’t want your players to miss the goal, as so often happens with the England team... Step 4: Fasten the Net No goal is complete without a net! Secure the corners of your net using the horseshoe nails, taking extra care to make sure there is no opening for the football to slip through. If required, use a ladder to reach the top corners – but be careful, you don’t want any twisted ankles to put you on the reserve bench. Step 5: Fit Your Goal into Place Congratulations, you might not have won ‘the cup’, but you’ve completed your goal posts! Now for fitting them into place... Make sure your goal is aligned towards the back fence of your garden, giving a long lead up for practicing those penalty kicks. Step 6: Kick off! With your goal posts complete, you can now enjoy the football fun from the comfort of your own garden. All that’s left to do is plan your own mini backyard tournament or start training your kids up on penalties so they may someday beat the Germans (let’s face it, the sooner they start, the better!). You can skip the hassle of cutting the timber for your goal posts thanks to our free cutting service. Browse our range of stock online or contact a member of our team for more information.