How to Install a Wooden Fireplace Surround

The thought of crackling flames and romantic ambiance make a fireplace a very desirable feature in both a modern or traditional home and can even add value to your house. Whilst having a big impact on a room, it doesn’t have to have a big impact on your time or your bank balance.
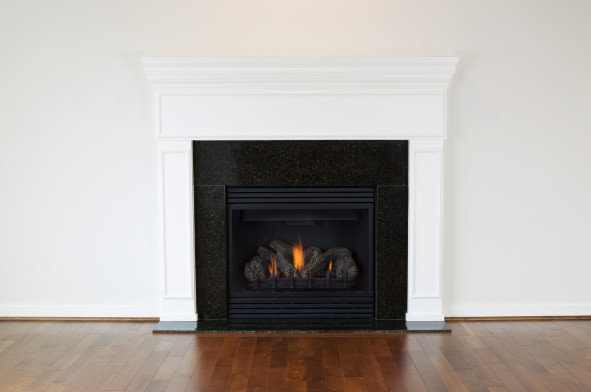
Once you have chosen your surround, make sure the wall surface is smooth and free from dust and debris. Use a damp cloth to clean it if necessary. Dry fit your surround and make sure the mantel is level using a spirit level. Mark lines around the sides of your surround using a pencil, to use as a guide when fully installing the mantel. Take the surround down and, using a utility knife, cut grooves into the wall where the legs and mantel will fit. Then, apply a No Nails adhesive to one leg and press it firmly against the wall and floor, ensuring the leg is aligned with your guide-line. Repeat the process for the second leg and allow time for it to dry. Using an adhesive will ensure that no fixtures will be in view once the surround is installed. Once the legs are dry and secure, apply adhesive to the top of both legs and the back of the mantel, before lifting the mantel into place and pressing it firmly against the wall and down on to the legs. Again, use a spirit level to check your mantel is straight, then give it 24 - 48 hours to dry. Finally, using a sanded caulk apply a ⅛” bead where the mantel and legs meet the wall. Wipe the caulk with a wet finger to ensure a smooth finish, then wipe the wall and mantel with a damp sponge and allow it to dry before enjoying the cosy glow of your new fireplace.