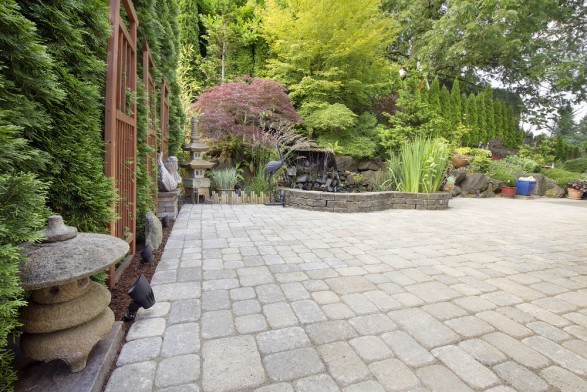
How to lay a garden patio

A patio provides your garden with a perfect spot to enjoy a bit of summer sun and also provides you with the perfect spring-time project! This is a fairly simple undertaking and, depending on the size of your patio, shouldn’t take you more than two or three days, but paving can be heavy so you may need to enlist some help.
Planning your patio
Once you have decided where your patio is going, you’ll need to draw a detailed plan including all of the dimensions of the patio. If this is your first slab-laying project, keep it simple by going for a ‘chessboard’ layout, or a range that comes with ready-cut half-slabs. Don’t forget to leave 10-20mm between each slab.
Marking out the patio
Using wooden pegs and string, transfer your plan to the ground and mark lines on the wooden pegs to show the levels at which your hardcore (50-80mm), bedding mortar and paving slabs will sit.
Preparing the base
Once you have removed turf or plants, dig your area out at a depth of around 150mm. Then, add a layer of hardcore (around 50-80mm in depth) and rake it over to distribute it evenly, flattening out any bumps. Next, cover the hardcore with a layer of bedding mortar.
Laying your paving slabsWhen you lay down your first slab against the house, start at the corner and check its alignment with the string guidelines you’ve prepared as it’s very important that this first slab is positioned accurately. Use a rubber mallet to adjust the level of the slab and check it with a spirit level. Make sure you allow for a slight slope slope away from the house to ensure water run-off. Once you have laid them all, do a final check to make sure they are all level. Leave the bedding mortar to dry for at least 24 hours before you ‘point’ the slabs.
Filling between the slabs
Filling the gaps between the slabs (pointing) with mortar keeps your slabs from moving and prevents weeds from growing up through the gaps. You can make up your pointing mortar from four parts building sand to one part cement, making sure it is only just wet. To test it, squeeze it in your hand; it should stay as a firm wet ball, without crumbling or oozing. Use a trowel to press the mortar into the gaps between the slabs then, with a semi-stiff brush, brush off any surplus mortar. Finally, wash the slabs with a damp sponge to remove any traces of cement.
Drying out the mortar
Depending on the weather, there are steps you can take to protect your patio as the mortar dries. If it is hot and dry, try to make sure the mortar doesn’t dry out too quickly. If it is cold, protect your patio from rain and frost using polythene sheeting. You should stay off the patio for at least 24 hours or longer to give it time to dry properly before you enjoy your new summer-time retreat!