How to Install a Garden Fence

Installing a garden fence can add both privacy and security to your garden or backyard. A fence is an important investment that should last many years, so it is essential to choose the right type of fence for your needs and install it properly. In this comprehensive guide, we will discuss the different fence types and provide a step-by-step guide on how to install a garden fence.
Fence Types
There are four main types of garden fencing, each with its own advantages and disadvantages:
Feather Edge Fencing
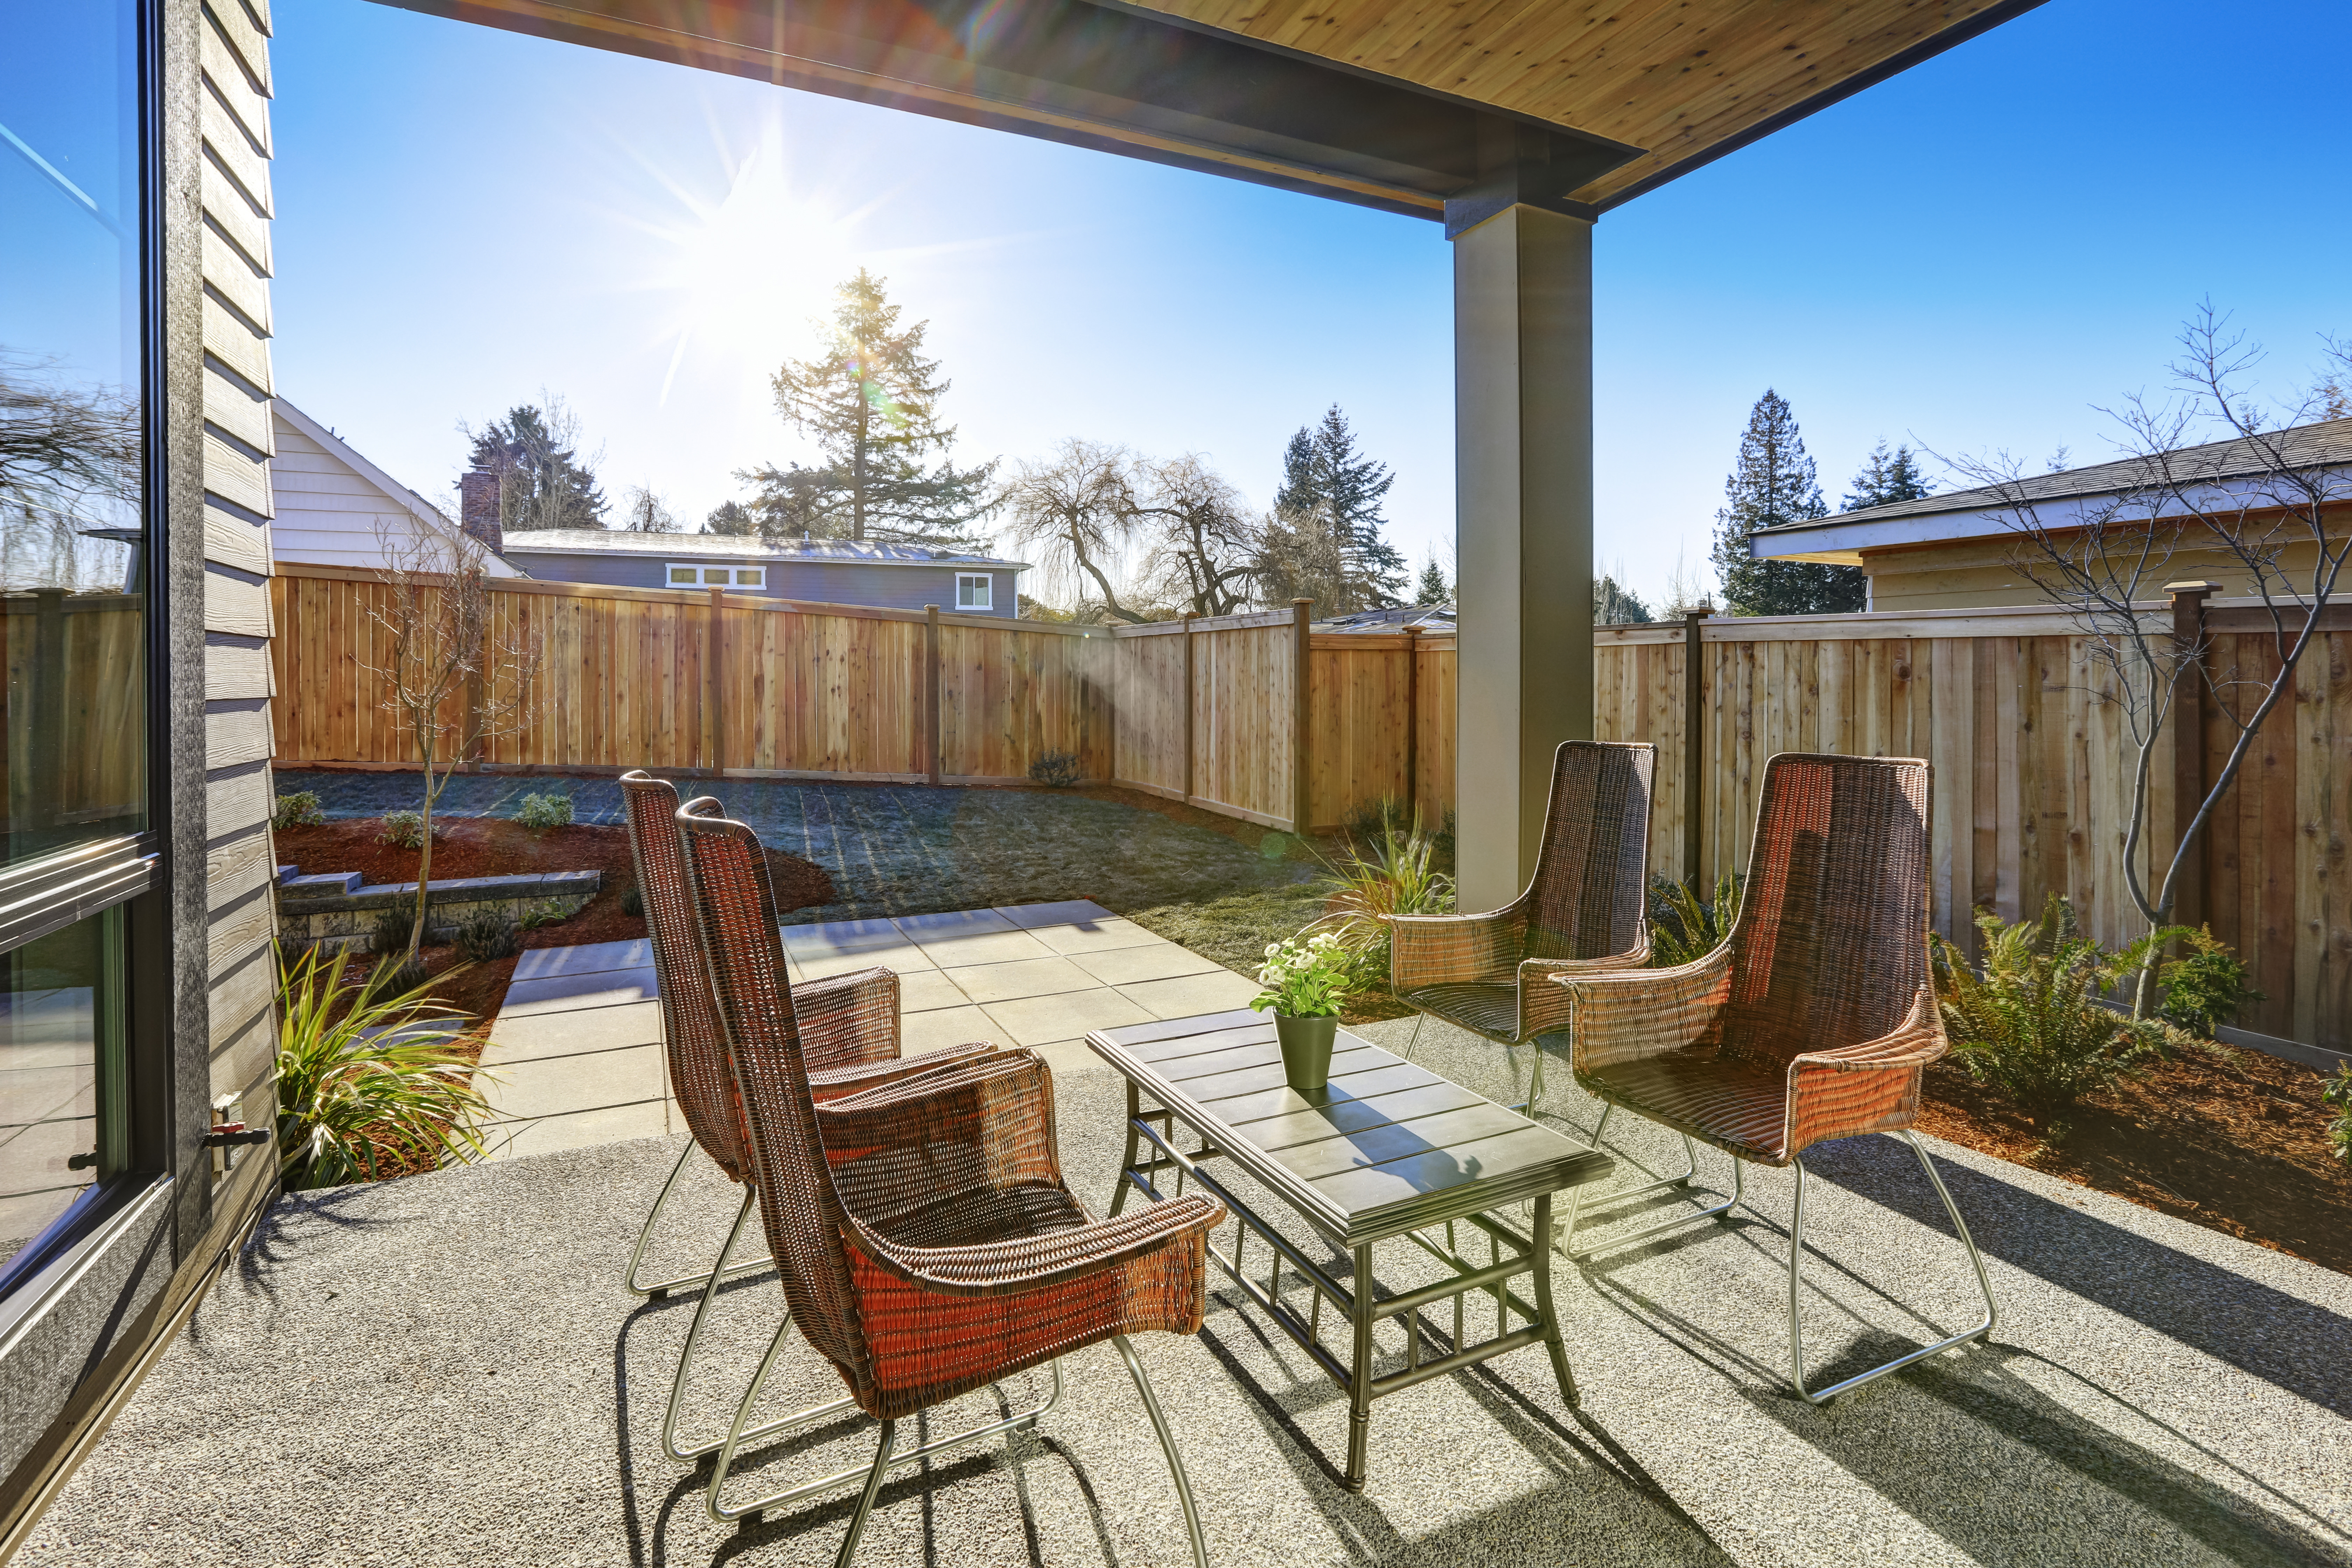
Feather edge fencing, also known as closeboard fencing, is made of overlapping vertical boards that are secured to horizontal rails. It is a popular choice for garden fencing because it is strong and sturdy, making it a good option for security and privacy.
Advantages:
• Strong and durable
• Offers privacy and security
• Can withstand harsh weather conditions
Disadvantages:
• Requires maintenance - painting or staining
• More expensive than other types of fencing
Waney Lap Fencing
Waney lap fencing, also called larch lap fencing, is a more affordable option. It is made of overlapping horizontal boards that are secured to vertical slats. It is a good option for privacy and is available in different heights.
Advantages:
• Affordable
• Offers privacy
• Easy to install
Disadvantages:
• Less durable compared to featheredge or palisade fencing
• Requires maintenance
Palisade Fencing
Palisade fencing, popularly known as picket fencing, is made up of spaced upright pales or pickets that are attached to horizontal rails. It is popular for its aesthetic value and works best for front gardens rather than back gardens because it does not provide a lot of privacy.
Advantages:
• Attractive
• Provides low-level security
• Adds charm and elegance to a property
Disadvantages:
• Less durable compared to other fencing types
• Does not provide a lot of privacy
Trellis Fencing
Trellis fencing is made up of diagonal or square cut wooden slats, allowing for climbing plants and vines to grow on and create a natural fence. It functions as privacy fencing while also giving the added benefit of a green area in your garden.
Advantages:
• Visually appealing, especially if plants are grown on the trellis
• Offers added privacy by absorbing sound
• Can be installed between posts, walls or planters
Disadvantages:
• Less durable compared to other types
• Plants may interfere with neighbouring gardens Fence Posts
Choosing the right fence posts is essential for the durability and stability of your fence. You need to decide between wooden and concrete posts, and it largely depends on the fence weight and purpose.
Here are some key factors to consider:
• Soil type
• Fence height
• Exposure to wind and rain
Wooden Posts
Wooden posts are the traditional choice for fencing, and they work well for lighter fencing types. They are usually made from sturdy timber such as pine or spruce. Make sure you use pressure-treated wood to prevent rot and insect damage.
Advantages:
• Looks natural
• Easy to work with
• Cheaper than concrete posts
Disadvantages:
• Less durable compared to concrete posts
• Bigger risk of rot and insect damage
Concrete Posts
Concrete posts are a great option for heavier fencing types as they provide more support and stability. They are easy to install and are suitable for various soil types.
Advantages:
• Extremely durable
• Resistant to rot and insect damage
• Good for heavier fencing types
Disadvantages:
• More expensive than wooden posts
Panel Calculation and Wood Preservative
Before you start installing the fence, it is necessary to calculate the number of panels required. You can calculate the panels by measuring the length of the area where the fence will be installed and dividing it by the width of the fence panels. Also, consider the height and any obstructions such as uneven ground or trees. It is essential to use a good quality wood preservative to prolong the life of your fence. It will create a barrier that deters rot and insect damage. When buying fencing, make sure to choose pressure-treated timber for enhanced longevity.
Fence Installation
The first step in installing a fence is to check your title deeds and make sure you know the exact boundaries of your property. Then, you can choose from a range of fencing options, including feather edge, waney lap, palisade, and trellis. Decide on the right fence posts for your project.
Concrete posts ensure a strong fence but require a lot of work to install, while wooden posts are easier to handle but are susceptible to rot.
Next, determine the height of your fence and calculate the number of panels and posts needed. Pre-treated fencing options are recommended, but it's always a good idea to treat them with an all-purpose preservative. Before you start erecting the fence, mark the boundary line using a string, clear away vegetation, and treat the area with weed killer.
Be sure to check the location of any water pipes and power cables. Lay out your posts evenly along the string line, and use a metal spike, rod, or bar to make a line of evenly spaced holes. The holes should be three times as wide as the post and 450 – 600mm deep.
Use broken brick or stone hardcore to support the end of the post, then half-fill the hole with water and pour the fast setting post concrete mix on top. Once the posts are in place, trowel the surface smooth, sloping the concrete away from the post to allow water to run off.
Check the post is vertical on two adjacent sides and prop it up with one or two timber battens. Leave the concrete to harden for at least an hour before attaching the fencing panels. Screw the fence panels to the posts using post clips and add treated timber or concrete gravel boards along the bottom to prevent rotting.
In conclusion, installing a garden fence can be a great DIY project and an excellent way to protect your property and enhance its aesthetic appeal. By following these steps and choosing quality materials, you can create a beautiful and functional fence that will last for years to come.
Blog Summary
Fence Installation Installing a fence is a significant DIY project, so it's important to set aside enough time to do the job properly.
A garden fence is a great addition to any outdoor space. Not only does it add rustic or modern charm to your landscaping, but it also provides privacy, security, and peace of mind. It can help protect your plants and vegetables from uninvited intruders while being easy to maintain, inexpensive to install, and long-lasting.
Step 1: Marking the boundary line
Start by marking the boundary of where the fence will go using a string line and pegs. You can also use a spirit level to ensure it is level.
Step 2: Digging the holes
Dig holes at regular intervals with a post digger, ensuring that they are deep enough to support the height of your fence. Set the holes at least 600mm deep for concrete posts and 450mm for wooden posts.
Step 3: Setting the posts with concrete
Place the posts in the holes and add a fast setting post concrete.